A freshwater planted aquarium looks complicated from the outside. It really does. But once you actually sit down and understand the basics, it is far more manageable than most people think.
Whether this is tank number one or tank number five, getting the setup right from day one saves a lot of headaches later.
Here is a clear, step-by-step guide to help you build a genuinely thriving planted aquarium at home.
Step 1: Choose the Right Tank Size
Start with a tank that honestly matches your space and your experience. For beginners, a 10 to 20-litre aquarium is a solid starting point. Bigger tanks are actually more forgiving with water chemistry, which surprises most people.
Things to keep in mind:
• Wider tanks spread light better across aquatic plants
• Taller tanks suit background plants like Vallisneria and Ludwigia
• Keep the tank away from direct sunlight, always
Step 2: Add the Right Aquarium Substrate
Think of the substrate as the soil in a garden. Your plants pull nutrients directly from it, so this decision matters more than it looks.
Good substrate options include:
• Nutrient-rich aquatic soil for most planted tank setups
• Gravel mixed with root tabs is a decent, budget-friendly choice
• Sand, useful for certain plant species or shrimp tanks
Aim for a depth of 5 to 7 centimetres. Roots need that space to anchor properly and actually grow.
Step 3: Set Up Filtration and Equipment
Clean, moving water is non-negotiable. A reliable aquarium filter keeps things cycled and oxygenated without you constantly worrying.
Equipment checklist:
• Filter, sponge or canister all work well here
• Aquarium air pump for extra oxygenation if needed
• Heater to hold 24-28°C, the sweet spot for most tropical plants and fish
• Thermometer, check it daily, not weekly
Step 4: Install Proper Lighting
Plants photosynthesise. No light, no growth. It really is that simple.
• Run lights for 8 to 10 hours daily, and use a timer so you do not forget
• LED lights suit freshwater aquatic plants particularly well
• Too many hours of light? Algae will take over faster than you expect
Low-light species like Java Fern, Anubias, and Moss work brilliantly with basic LED setups and are forgiving for beginners.
Step 5: Plant Your Aquarium the Right Way
This is the step where it all starts looking like something real. Group plants by where they belong in the tank:
• Foreground plants (short, carpet-style): Hairgrass, Dwarf Baby Tears
• Midground plants: Cryptocoryne, Amazon Sword
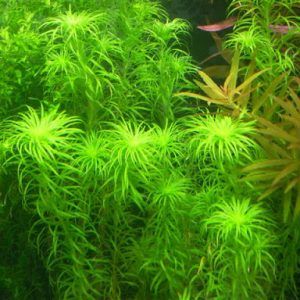
• Background plants (tall and bushy): Rotala, Cabomba, Hygrophila
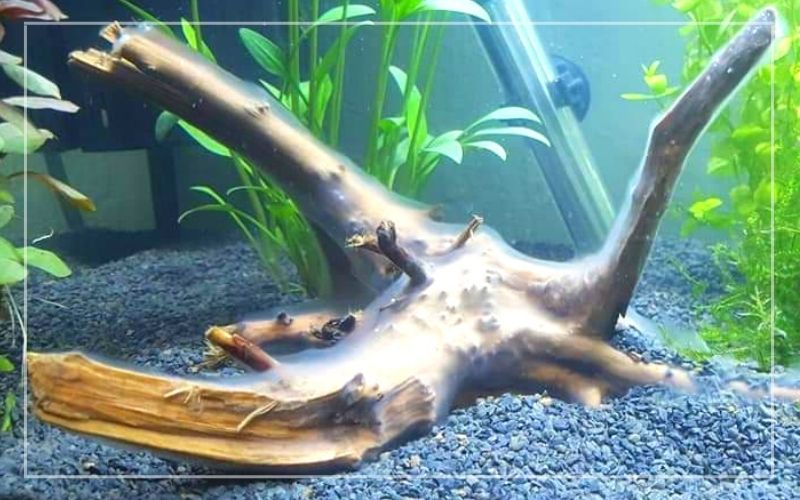
• Epiphytes like Anubias and Java Fern simply attach to driftwood or rocks, no burying needed
Bunnycart carries all of these, including tissue culture aquatic plants that arrive pest-free and go straight into the tank without preparation.
Step 6: Cycle the Tank Before Adding Fish
Patience here is genuinely important. The nitrogen cycle typically takes 2 to 4 weeks to complete. Test for ammonia, nitrite, and nitrate before any fish go in.
Once the tank is cycled, start with hardy species. Tetras, Guppies, or Platies settle into planted aquarium environments without much fuss.
Step 7: Maintain Consistently
One good week means nothing without follow-through. Consistency is what keeps a planted tank actually alive.
Weekly maintenance tips:
• Trim plants that are getting overgrown
• Change 20 to 30% of the water regularly
• Clean the filter and check the flow rate
• Catch algae or plant deficiencies early, before they spread
Build Your Dream Tank with Confidence
Setting up a freshwater planted aquarium is genuinely rewarding. Each step connects to the next, and within a few weeks, a proper underwater garden takes shape right inside your home.
Bunnycart simplifies the whole process by bringing farm-fresh aquatic plants, tissue culture varieties, live fish, aquarium substrates, and accessories together in one place, with pan-India delivery and a live arrival guarantee.
Start small, pick the right plants, and watch the tank come to life.
Please fill in the form get updates on new articles.