We all know the benefits of consuming homemade food. From being more nutritious to free of chemicals and preservatives, they are wholesome and can be customized.
When homemade foods are considered best for humans, why should our little pets be devoid of them? So, here we bring you a DIY homemade gel food for your fish, which is easy to make and ensures a relishing nutritious treat for your pets in the tank.
Why should you make gel food for fish at home?
Even though fish food comes in many types such as flakes, pellets, sticks, wafers, tablets, and whatnot, we are focusing on gel food due for certain reasons such as
- Nutrient-rich and can remain in culture tanks for up to two days without leaching
- Soft and moist, easy to chew and swallow; thus, easily digestible
- It can be customized and include a variety of ingredients
- Suitable for most fish types, especially bottom-dwelling fish.
Hobbyists often think preparing homemade food for fish is tricky and difficult and end up stocking fish food from pet stores. Conversely, it is one of the easiest tasks and can be customized according to product availability at home.
Another good thing about gel food for fish is that you can prepare it in bulk, freeze it in your refrigerator, and use it only when required. Since it is soft and moist, even the fry can feed on it and get the required nutrients.
How to make homemade Gel Food for Your Fish?
To prepare gel food for fish, you need the following ingredients-
- Frozen spinach- 1 cup
- Stems of broccoli and cauliflower
- Green vegetables- 1 cup
- Agar or vegetarian gelatine
For green vegetables, you can take green peas, cucumber, summer squash, or any other green vegetable available in the season. Likewise, you can eat broccoli and cauliflower and keep their stems in the fridge to prepare gel food for fish later. These stems stay fresh in the refrigerator for one week; later, you can store them in the deep freezer.
Method
Step 1- Preparation of Vegetables
- Pour tap water over frozen peas and other frozen veggies and let them soak for at least 10 minutes. This will allow them to unfreeze and become soft.
- Squeeze the skin of peas and put it aside.
- Chop off the stem of crucifers- broccoli and cauliflower into dice-sized pieces.
Step-2- Boiling
- Put all the vegetables in a pan and add water until they soak in completely.
- Bring it to a boil for around 5 minutes on medium flame. You can also microwave it.
- Make sure the vegetables only soften slightly and do not become too soggy.
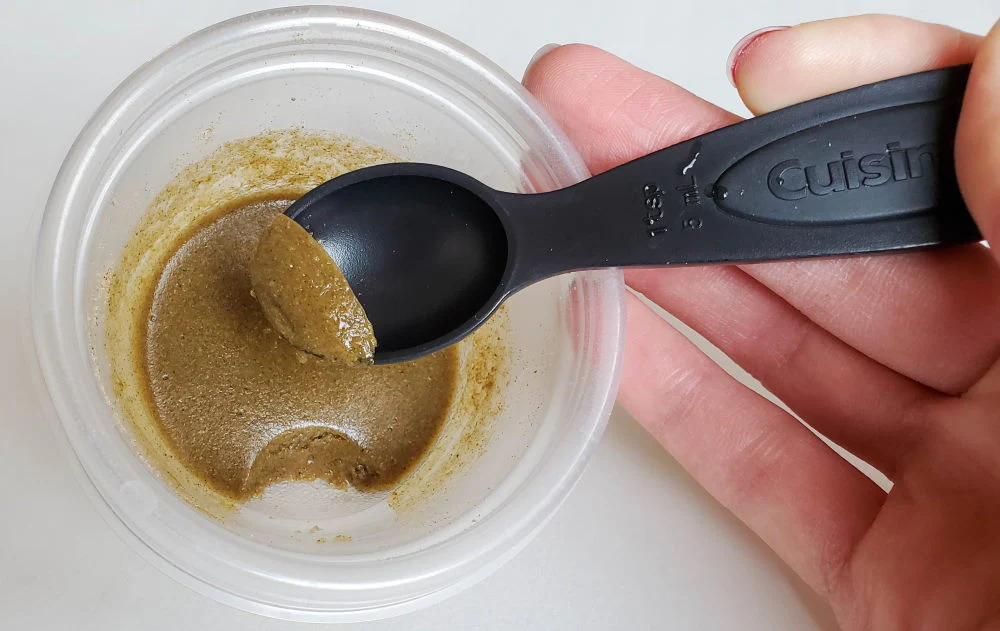
Step-3- Blending
- Add vegetables and frozen spinach in a big bowl and allow spinach to melt.
- Now, take out your blender or handheld mixer and blend to get a gloopy consistency.
- Create a smooth paste by grinding or blending the ingredients.
Note: You can prepare frozen spinach at home by blanching its green leaves. For blanching, immerse spinach leaves in boiling water for a short time, then quickly remove them and put them in cool ice water. Blanching partially wilts the leaves, making them easier to pack into freezer bags or containers.
You can also use store-bought frozen spinach. Read the labels and ensure it is pure spinach and no chemicals or preservatives are added.
Step 4- Adding Agar or Vegetarian Gelatine
Agar is a gelling agent derived from seaweed. It helps give the preparation a gel-like texture. Agar is usually used to prepare different food items like jellies, jams, etc.
- Add around two tablespoons of agar to your blended veggies. For correct measurement, follow the instructions on the packet.
- Stir well so that agar or vegetarian gelatine mixes with it completely.
Note: In this step, you can add more nutrients to your homemade food, such as parsley, spirulina powder, etc., to make it healthier. Some people also add garlic to make the gel food smellier, making it easy to find by the fish.
Step 5- Moulding, Setting, and Carving
- Take out your molding tray and clingfilm it
- Pour the mixture into the moulds
- Allow it to cool and set
- Once the mixture sets, keep it inside the fridge for 2 hours
Finally, you can remove the moulding tray and carve the preparation into small cubes. Do not make them too big for fish to eat. Now, you can put these carvings (small cubes) inside a bag or container and store them in the freezer. Make sure you shake the bag or container every half hour so that the cubes stay separate and do not stick.
Once they freeze completely, you can feed them to the fish directly from the freezer. The tank’s water will allow the freeze cubes to thaw and release some bits that mid-water fish will pick up. The rest will sink to the bottom, making themselves available for bottom-dwelling fish.
What else can be added to gel food for fish?
This is one method of preparing gel food for fish, where we have used selected vegetables. You can add as many vegetables as you have at home, such as pumpkin, carrot, paprika, etc.
At the same time, you can also go for some nonvegetarian food options such as
- Canned Salmon
- Fish fillet
- Shrimp
- Chicken
- Chicken livers
- Frozen cyclops
- Daphnia
You can also add acidophilus if it seems your fish is having trouble with their bowel movement. Acidophilus (lactobacillus acidophilus) is a bacterium naturally found in the digestive system, urinary tract, and other parts of the body. It is a probiotic strain you can buy and add to your homemade gel food for fish to keep their digestive system in shape.
Conclusion
Aquarists who consider their fish their beloved pets love to prepare homemade food for them. This allows them to make their food as healthy, tasty, and nutritious as possible. At the same time, homemade foods are cost-effective and free of additives.
So, if you are ever out of fish food stock, try making homemade gel food for fish with the vegetables you have at home. All you will need is agar or edible gelatine to pamper your fish a little more.
Please fill in the form get updates on new articles.